






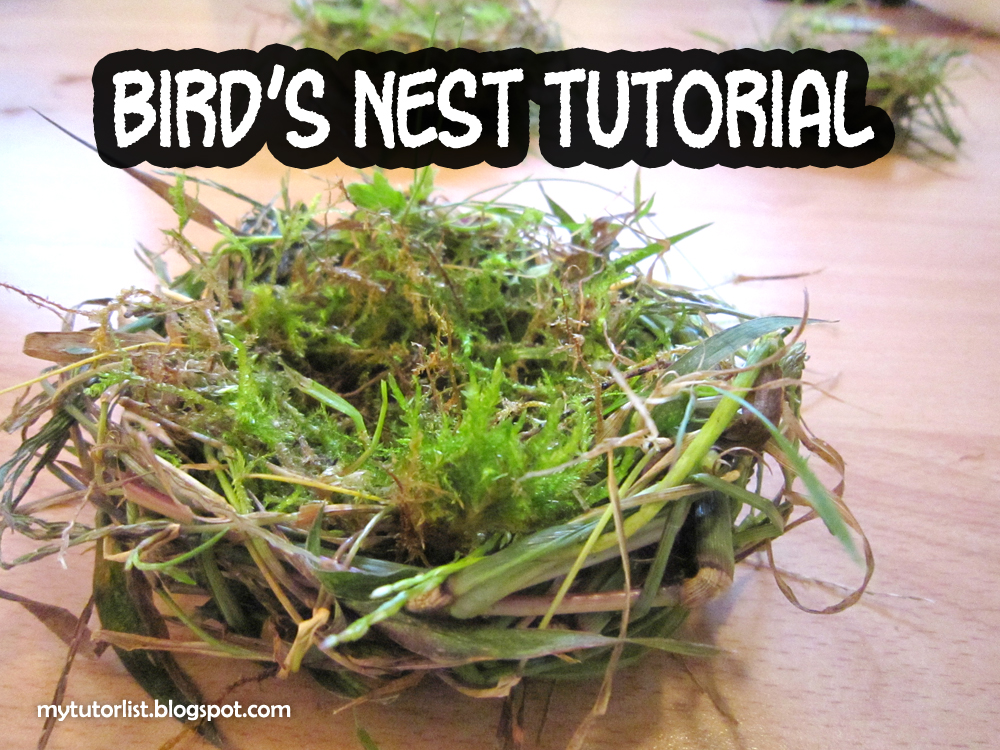
It's Fall and there are an abundance of vines and grasses that are overgrown and need to be cut back. Why not put some of those lovely things to use? Let's make bird nests out of them to create some pretty household decor.

You will begin this adventure by collecting useful overgrown plants such as bean plant vines and grape vines. Just pull off long vines and pluck off all the leaves.

Next, look for annoying grasses that have grown over from you neighbor's yard. It's usually long, lanky, and rather unattractive. However, it will make excellent bird nests!

Next, find some patches of moss in your yard. No one likes this moss and with all the recent rains, the moss is lush and dense - perfect for making fluffy nests. Just peel them right off the lawn in big clumps.

Here are some grasses and moss that I collected. I have some vines as well, but you can actually make the nests with just long grasses and moss too.

The moss will have lots of soil on it. Just plop it into a bucket of water outside and wash all the dirt off. After a couple rinses, you will have nothing left, but fluffy green moss. Squeeze all the water out and it is ready to use.

Now that you have all your supplies, find a comfy place to sit and make your nests.

Use the vines to form a circle the size of the nest you want. Take the ends of the vines and start weaving them in and out around the loop so that the vines are wrapped around each other in a circle.

If you find any loose ends, just weave them in around the circle.

Add more vines to create a stronger circle that will hold it's own shape.
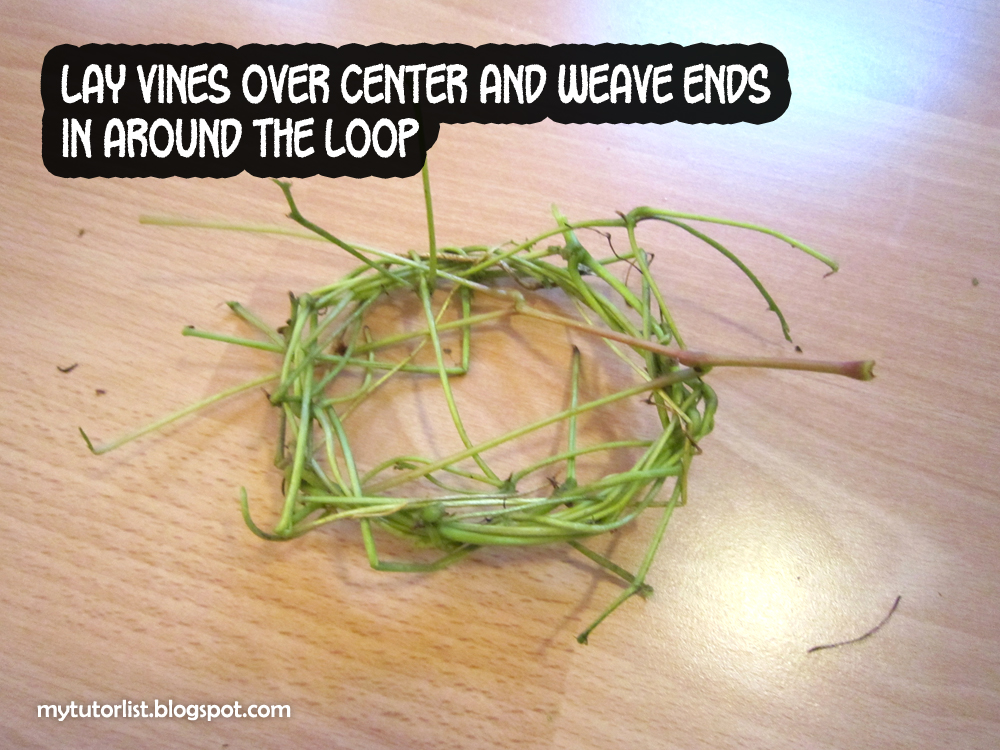
Start laying vines loosely across the nest so that you can form a base for the nest.

Weave all the ends around the nest so that these new vines are locked in place. Make sure to shape the nest as you go so that you get the bowl shape.

Keep adding more vines to make the nest more nest-like.

Notice how the shape of the nest is starting to form as I add more vines.

Once you have a pretty good framework of vines, start weaving long grasses in.

You will find that the root end of the long grasses is hard and drier. It will act like a needle so that you can basically "sew" the grasses in.

Make sure to work in a round so that your nest looks neat instead of messy. Try to keep weaving in the same direction most of the time.

Keep adding more grasses.

Make sure to maintain the bowl shape and don't forget to fill in any gaps at the bottom of the nest.

Once you are satisfied with how your nest looks, add moss to the base of the nest. Imagine how a bird might do this to make the nest softer for baby birds.

Now you are done! You can do whatever you like with this nest.

A lovely flower can really brighten this nest up.

You can add a family of birds.

Or maybe a family of hedgehogs... and a pumpkin. Why not? It's Fall. You can do whatever you like to decorate your space festively.
Enjoy!





