Mytutorlist.com - Free Tutoring Classifieds Blog Home Advertise on this site! Blue Pandemonium Art and Toys Email Me!

Showing posts with label decoration. Show all posts

Sunday, December 7, 2014

Water Distressed Paper Poinsettias Tutorial

Christmas is almost here and I need decorations.  If you're looking for something fun and pretty to make, you can try these water distressed paper poinsettias.  They look pretty nice on tables, wreaths, etc.   
To make these lovely, complicated blooms, you will need the following supplies:

Silhouette Cameo Paper Cutting Machine (or mad paper cutting skills)
Red cardstock paper
Dark green cardstock paper
Light green or yellow cardstock paper
Watercolour paints
Make-up wedge sponges
Optional: Fine paintbrush
Water
White Glue
Drying surface (ex. tin sheet)
Painting surface (ex. white paper)

To start, cut out your poinsettia flower petals and leaf shapes.  
I used this template from the Silhouette online store. You can also get the template that doesn't have the wreath.  As you can see, you don't have to go through the trouble of water distressing these poinsettias, they look pretty good with just rolled up petals.  I just like to make my life more difficult by attempting to one-up everything  :)
I filled 8.5 x 11 sheets with either petals (red), leaves (dark green), or flower centers (pale yellow green) in Silhouette's software.  
I printed out about 2 red petal sheets, one green leaf sheet and one light green centers sheet.
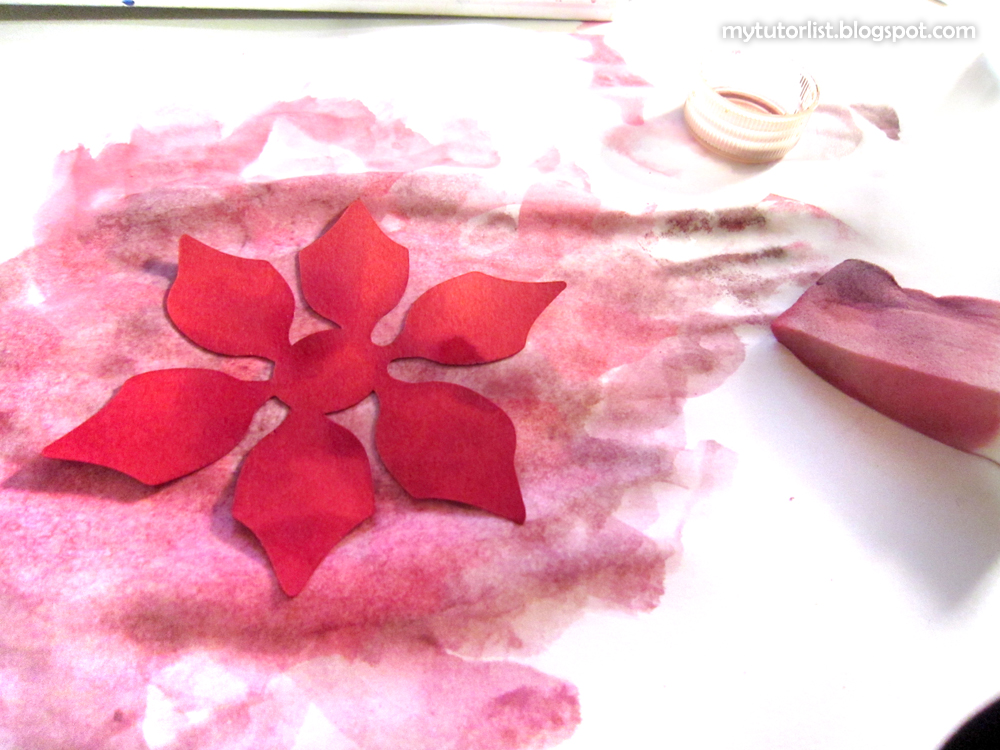
 Place your flower petals on your painting surface (I used a plain sheet of white paper).  Get your sponge wet and load it with dark red watercolour paint.  Make it dark enough to show your on your petals.  Mix in some dark green or black to make it show up as needed.  Cover both sides with a wet layer of paint.
While it is still wet, fold the petal center creases.

 Scrunch up the petals.  Be careful not to tear the petals off.
Close up the flower in the center by squishing the center together from the bottom.

 Gently open up the petals.  Keep the center crease deep so that it looks like a leaf and gently bend the petals so that they curve open.  It helps to pinch the center crease while using your other hand to smooth the petals open and bend the tip backwards.
 Arrange your petals in the way you want them to appear or in a more closed shape until the petals are dried.  You can always open them more once they are dried.  If you mess with them too much while they are wet, you might accidentally tear off a petal.
 Be patient and wait for the petals to dry.  I place mine on an aluminum sheet over my oil heater in my room so that they dry faster.  Be careful to prevent a fire if you do this.  You can also place them under a lamp to dry.

Once they are dry, you can put a generous blob of white glue in the center and any spots where the next layer of petals will overlap.  Place a layer of petals on top and press together.  Allow them to dry fully.
The idea is to put leaves at the bottom, then largest petals on the bottom, and smaller petals to the middle so it looks like a real poinsettia flower.  Look at photos of poinsettias to see what it should look like.  Add about 3 layers of petals or more until you get the look that you like.
Add the flower centers in the middle.
I made my flower centers in light green and used bright yellow paint on them.  I added extra yellow paint on the round balls and a touch of green in the middle.  Once they were painted, I closed the centers up gently and lightly pressed on the balls so that they would bend in different directions instead of standing straight up.
Add a generous daub of white glue to the center and push the center into place.  The result is quite attractive.
These flowers take a lot of work, but they look look quite realistic in terms of the way the petals are wrinkled and creased like real poinsettia flowers.  Experiment with adding more and less paint and different colours of paint in order to get the look of the flowers and leaves that you want.

Enjoy and Happy Christmas Planning!

xoxo

Wednesday, November 19, 2014

DIY Water Distressed Paper Flowers Tutorial

I've been having fun making water distressed paper flowers the last few days.  
They are easy to make and they look quite nice.  I am thinking about using them for my wedding decorations next year.  What do you think?
By varying the petal shapes, colours, and centers, I have made a lots of different types of flowers.
I even experimented with making some anemones.  It's fun  :) 
I have amassed quite the collection of them already...
I even made different kinds of leaves  :D 
If you would like to know how to make these, the tutorial can be found here on my wedding blog.

Have a great day!
xoxo

Monday, November 3, 2014

Crazy Awesome Pumpkin Countdown Advent Calendar

It's a little bit late, but I just came across this amazing tutorial by Needles n' Knowledge.  I am blown away.
The drawers can all open up and store little trinkets and goodies!
You make it using the Silhouette Cameo paper cutting machine.  Maybe I should make this next year!  You should check out the other amazing tutorials on her blog.  They're incredible.

Have a happy week!

Thursday, October 30, 2014

How to Make a Bird's Nest

It's Fall and there are an abundance of vines and grasses that are overgrown and need to be cut back.  Why not put some of those lovely things to use?  Let's make bird nests out of them to create some pretty household decor. 
You will begin this adventure by collecting useful overgrown plants such as bean plant vines and grape vines.  Just pull off long vines and pluck off all the leaves.
Next, look for annoying grasses that have grown over from you neighbor's yard.  It's usually long, lanky, and rather unattractive.  However, it will make excellent bird nests!
Next, find some patches of moss in your yard.  No one likes this moss and with all the recent rains, the moss is lush and dense - perfect for making fluffy nests.  Just peel them right off the lawn in big clumps.
Here are some grasses and moss that I collected.  I have some vines as well, but you can actually make the nests with just long grasses and moss too. 
The moss will have lots of soil on it.  Just plop it into a bucket of water outside and wash all the dirt off.  After a couple rinses, you will have nothing left, but fluffy green moss.  Squeeze all the water out and it is ready to use. 
Now that you have all your supplies, find a comfy place to sit and make your nests.
Use the vines to form a circle the size of the nest you want.  Take the ends of the vines and start weaving them in and out around the loop so that the vines are wrapped around each other in a circle. 
If you find any loose ends, just weave them in around the circle.
Add more vines to create a stronger circle that will hold it's own shape. 
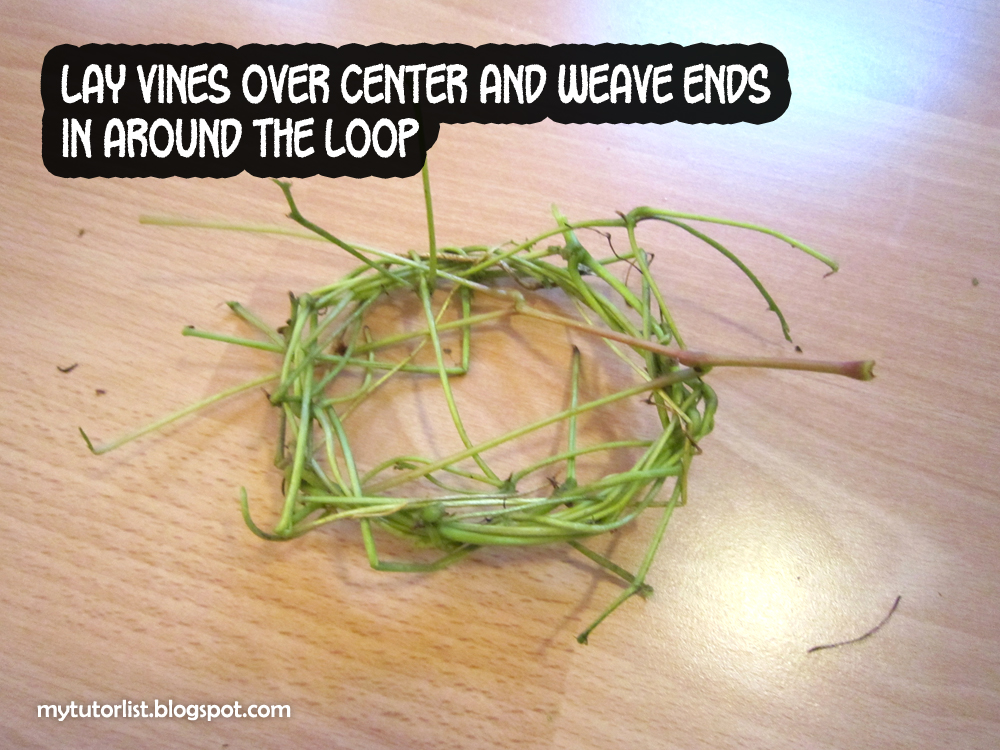
Start laying vines loosely across the nest so that you can form a base for the nest.   
Weave all the ends around the nest so that these new vines are locked in place.  Make sure to shape the nest as you go so that you get the bowl shape.
Keep adding more vines to make the nest more nest-like. 
Notice how the shape of the nest is starting to form as I add more vines. 
Once you have a pretty good framework of vines, start weaving long grasses in. 
You will find that the root end of the long grasses is hard and drier.  It will act like a needle so that you can basically "sew" the grasses in. 
Make sure to work in a round so that your nest looks neat instead of messy.  Try to keep weaving in the same direction most of the time. 
Keep adding more grasses. 
Make sure to maintain the bowl shape and don't forget to fill in any gaps at the bottom of the nest.

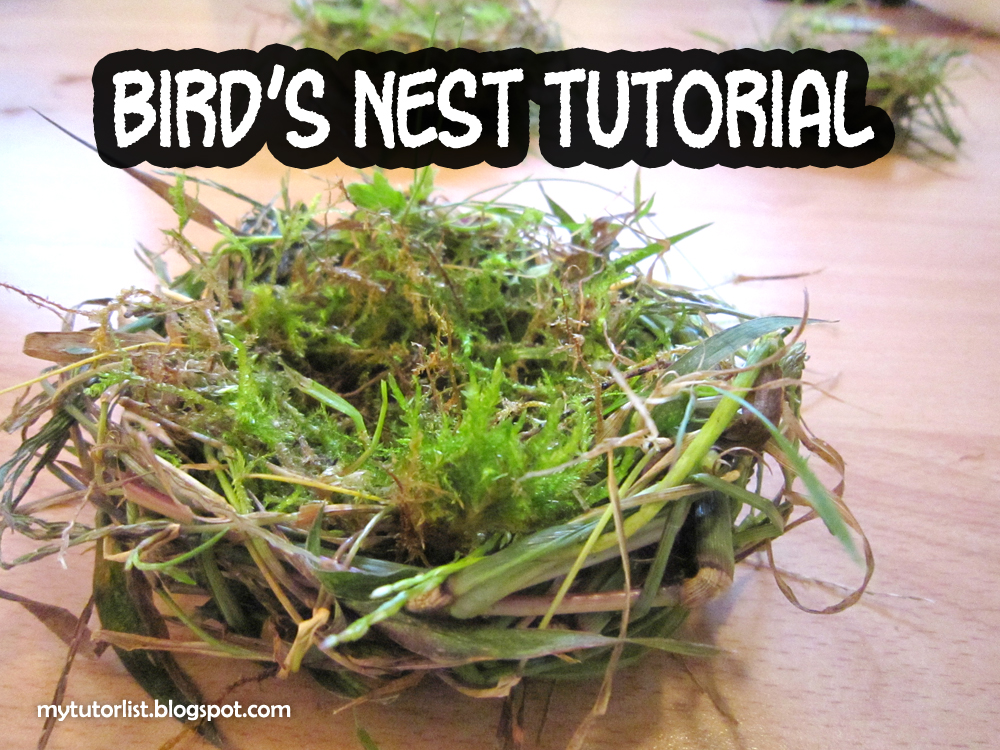
Once you are satisfied with how your nest looks, add moss to the base of the nest.  Imagine how a bird might do this to make the nest softer for baby birds. 
Now you are done!  You can do whatever you like with this nest. 
A lovely flower can really brighten this nest up. 
You can add a family of birds. 
Or maybe a family of hedgehogs... and a pumpkin.  Why not?  It's Fall.  You can do whatever you like to decorate your space festively.

Enjoy!