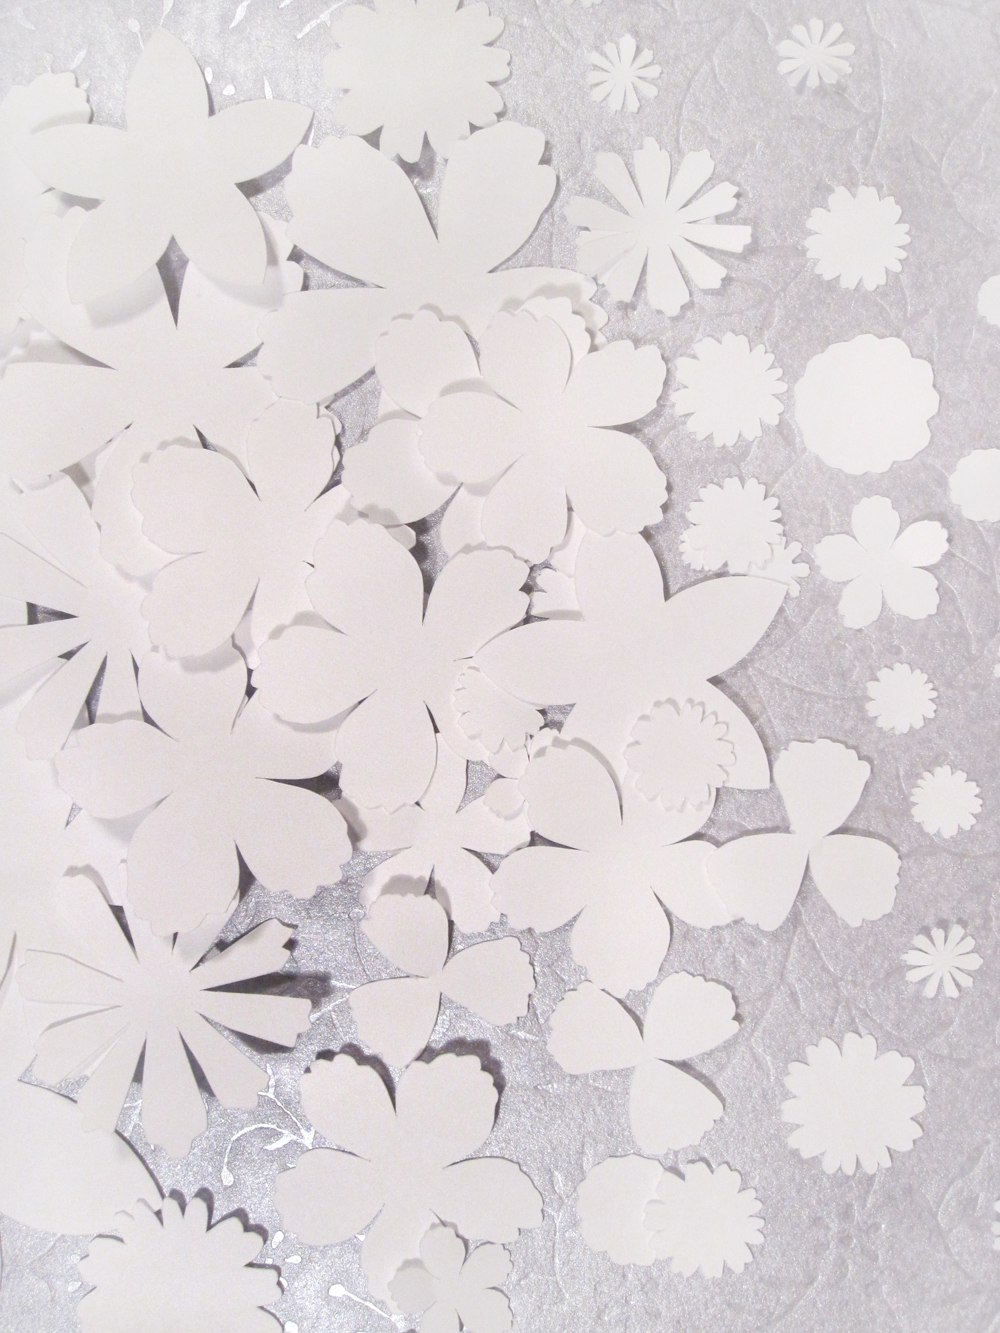
Christmas is almost here and I need decorations. If you're looking for something fun and pretty to make, you can try these water distressed paper poinsettias. They look pretty nice on tables, wreaths, etc.

To make these lovely, complicated blooms, you will need the following supplies:
Silhouette Cameo Paper Cutting Machine (or mad paper cutting skills)
Red cardstock paper
Dark green cardstock paper
Light green or yellow cardstock paper
Watercolour paints
Make-up wedge sponges
Optional: Fine paintbrush
Water
White Glue
Drying surface (ex. tin sheet)
Painting surface (ex. white paper)

To start, cut out your poinsettia flower petals and leaf shapes.

I used this template from the Silhouette online store. You can also get the template that doesn't have the wreath. As you can see, you don't have to go through the trouble of water distressing these poinsettias, they look pretty good with just rolled up petals. I just like to make my life more difficult by attempting to one-up everything :)


I filled 8.5 x 11 sheets with either petals (red), leaves (dark green), or flower centers (pale yellow green) in Silhouette's software.

I printed out about 2 red petal sheets, one green leaf sheet and one light green centers sheet.
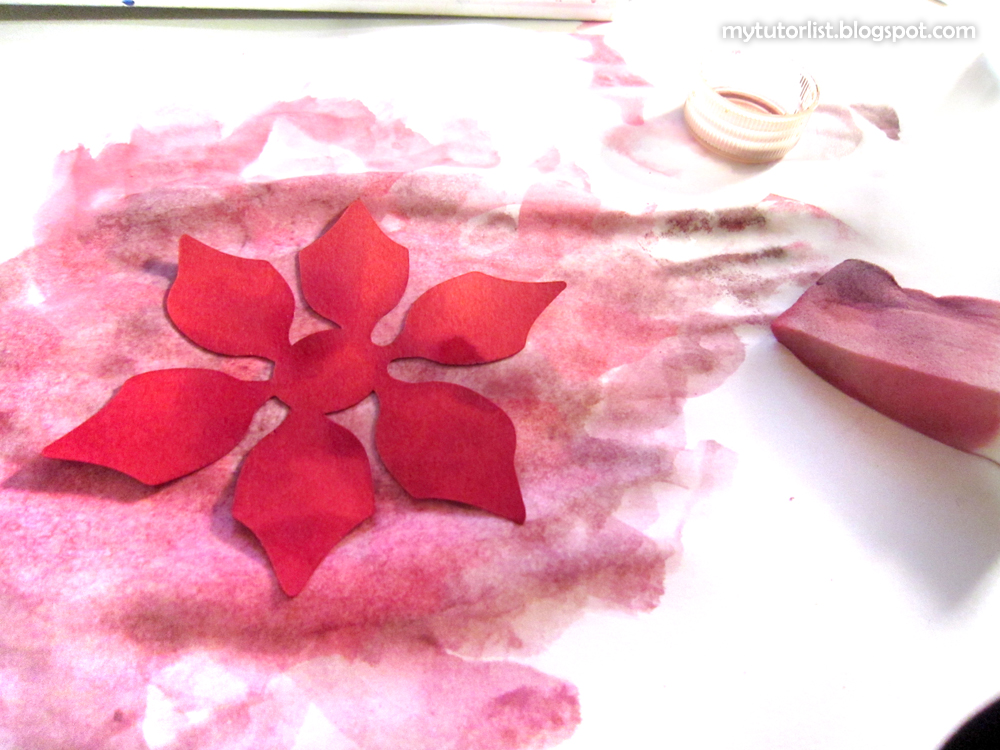
Place your flower petals on your painting surface (I used a plain sheet of white paper). Get your sponge wet and load it with dark red watercolour paint. Make it dark enough to show your on your petals. Mix in some dark green or black to make it show up as needed. Cover both sides with a wet layer of paint.

While it is still wet, fold the petal center creases.

Scrunch up the petals. Be careful not to tear the petals off.

Close up the flower in the center by squishing the center together from the bottom.

Gently open up the petals. Keep the center crease deep so that it looks like a leaf and gently bend the petals so that they curve open. It helps to pinch the center crease while using your other hand to smooth the petals open and bend the tip backwards.

Arrange your petals in the way you want them to appear or in a more closed shape until the petals are dried. You can always open them more once they are dried. If you mess with them too much while they are wet, you might accidentally tear off a petal.

Be patient and wait for the petals to dry. I place mine on an aluminum sheet over my oil heater in my room so that they dry faster. Be careful to prevent a fire if you do this. You can also place them under a lamp to dry.
Once they are dry, you can put a generous blob of white glue in the center and any spots where the next layer of petals will overlap. Place a layer of petals on top and press together. Allow them to dry fully.

The idea is to put leaves at the bottom, then largest petals on the bottom, and smaller petals to the middle so it looks like a real poinsettia flower. Look at photos of poinsettias to see what it should look like. Add about 3 layers of petals or more until you get the look that you like.

Add the flower centers in the middle.

I made my flower centers in light green and used bright yellow paint on them. I added extra yellow paint on the round balls and a touch of green in the middle. Once they were painted, I closed the centers up gently and lightly pressed on the balls so that they would bend in different directions instead of standing straight up.

Add a generous daub of white glue to the center and push the center into place. The result is quite attractive.

These flowers take a lot of work, but they look look quite realistic in terms of the way the petals are wrinkled and creased like real poinsettia flowers. Experiment with adding more and less paint and different colours of paint in order to get the look of the flowers and leaves that you want.
Enjoy and Happy Christmas Planning!
xoxo