


Here's a tutorial for how to create beautiful 3D butterfly wall art.

It's a great way to brighten up some boring walls and create something fun to look at. It would be perfect for a nursery, but it can create some colour and interest in other areas of your home as well.

Materials Needed
Cardstock paper
Butterfly paper punch or Silhouette Cameo Paper Cutting Machine or Scissors or pre-cut butterflies
Double sided Tape or Wall-safe Adhesive
Something with indented grid lines


Cut butterfly shapes out of cardstock paper using a butterfly paper punch, scissors, or a specialized paper cutting machine.

I used a Silhouette Cameo paper cutting machine and created a bunch of complicated monarch butterfly shapes. I made two of style B from above in 6 inch and seven of style E from below in about 2.4 inch.

These custom butterflies are available through my store but you can cut your own butterflies or use a specialized paper punch.


These are some butterfly shapes made using a butterfly paper punch by Martha Stewart.

You could also create flying dove shapes.

Once you have your butterfly shapes, place them onto a surface that has indented grid lines. I used my X-acto paper cutter (the kind with the big chopping arm).

Line the butterfly up so that you have an angled line from the wing to the bottom of the middle. Slide your fingernail in the crease of the grid lines to create a folding line.

Do the same thing with the other side so that you have a V-shape for the middle of the body.

If you have a butterfly shape that has a body for the butterfly then you can just fold on both sides of the body. You are aiming to create a flat area in the middle that will make it easier to stick to the wall.

Fold the wings up along the lines you just created. Now you have a 3D butterfly.

Use double-sided tape or wall-safe adhesive to stick your butterflies on the wall. Arrange them in whatever design you like.

I like arcs in a sort of V-shape.


The butterflies create shadows on the walls and help to catch the light. They look quite pretty.

Arrange just a few or create a whole flight of butterflies. It is up to you.

Here are some pictures of how other people have used paper butterflies to decorate their homes.

This one uses flat butterflies, but puts something like a pop dot on the wall so that the butterfly pops out from the wall.

This person used black butterflies in assorted sizes and made them fly outwards from a circular center point. It looks good on a white wall.
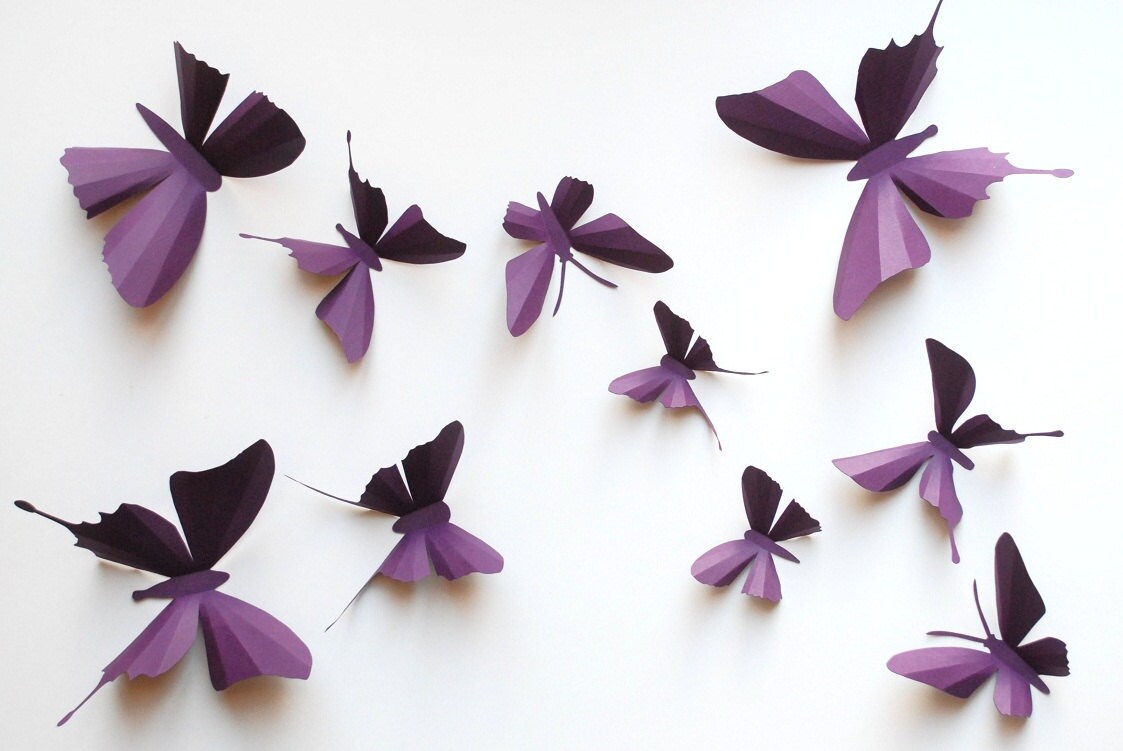
There is an artist on Etsy that sells these amazing paper butterflies. I am in awe. I think they would go anywhere.

Here's another photo from Hip and Clavicle on Etsy.

These white butterflies look pretty amazing arranged like this on the wood background. I love it.

This looks great above the nursery crib. So pretty.

Someone did this with folded leaves. It's very nice.

If you printed and cut out butterfly images and arranged them in looped designs on the wall, it might look like this.

Randomly placed over a bed. Very pretty.
Enjoy!
Enjoy!


No comments:
Post a Comment