Mytutorlist.com - Free Tutoring Classifieds Blog Home Advertise on this site! Blue Pandemonium Art and Toys Email Me!

Showing posts with label fleece. Show all posts

Wednesday, July 11, 2012

Fleece Cage Liner Tutorial

Here are instructions for how to sew fleece cage liners.

***Please note that these tutorials are for you to make things for your own personal use, not to sell.***

Tip: use fleece instead of flannel. It will hold its shape better, last longer, wash and wear better, (and it's a lot easier to sew!)

MATERIALS NEEDED

  • Fleece fabric
  • Sewing Machine
  • Thread
  • Needle
  • Scissors
  • Pins
CUTTING
Measure the cage bottom with a tape measure and add about an inch or half an inch to each side for seam allowance. 

Cut out the fabric and put it into the cage to check if it is about right. Put it down onto your fleece fabric and cut out a matching piece.

Tip: for subsequent cage liners, you can use the first liner you made and add seam allowance.

SEWING
Put both pieces with the wrong side facing out and sew one long side and one short side. Flip it inside out and check if it still looks like it will sew to the right size when you put it into the cage. If you find that it is too long or too short, then you can sew the other two sides with more or less seam allowance. 

Once you have three sides sewn up (two long, one short side), sew the last short side halfway from one side and then halfway from the other side, leaving a hole (so you can flip it inside out later)

rounded_corners_on_fleece_cage_liners.jpg

Rounded Corners
Then do the corners. Sew a straight or curved line across each corner. When you turn this inside out, it will become a curved corner. 
 
Flip the whole thing inside out and check if it fits right in the cage (and that you like the curved corners you have made). Then use a hidden stitch to close the opening.

Inner border
Pin down the fleece flat and sew an inner stitch around the whole thing. It's up to you how wide you want the rim to be. This keeps the liner from coming open like a balloon and it looks nice. It also makes the edges thicker.
 
 
Let me know if you have any questions.

Don't forget to post your finished pictures in the Flickr group here.  I'd love to see what you make!

Don't want to make your own?  Email me at bluepandemonium (at) hotmail.com and maybe I can make one for you!  I also have some fleece pouches listed in my Etsy shop.

Happy Sewing!

*************************************************************
*************************************************************

Have the tutorials and information on this blog helped you? Then please consider supporting this blog with a generous donation!

Friday, July 6, 2012

Summer Flannel Pita Pouch Tutorial for Hedgehogs, Guinea Pigs, etc

Poggy has not been sleeping inside of his fleece pouch lately.  He has been sleeping beside it.  I suspect that his pouch is too hot since it has been hot out lately.  In order to make him more comfortable I have designed a new pouch for him. 

***Please note that these tutorials are for you to make things for your own personal use, not to sell.***
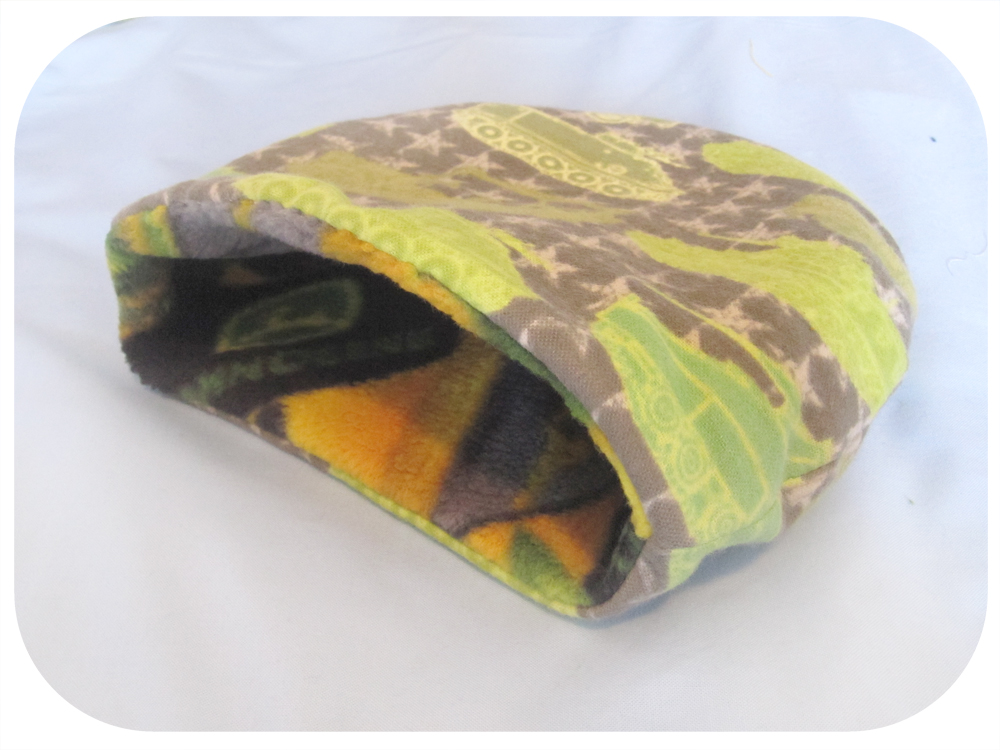
I call it the Summer Flannel Pita Pouch.  It is shaped like a Pita, and it has flannel instead of fleece on the outside.  The interior is still fleece as that is softer.

MATERIALS NEEDED
Flannel fabric
Fleece fabric
Thread
Sewing Machine
Needle
Scissors 
Chalk Pencil
 First, fold your fabric in half.  Then place your dome onto the flannel fabric.  Trace the shape with a chalk pencil or a regular pencil.

Tip: if you measure 2.5 inches in from the opening side and straighten out those edges instead of curving them in, then you will have a round interior with a straight outer rim.  This makes the pouch deeper, while still keeping the entrance wide enough for a hedgehog to pass through.
 Cut out the shape.  You will need two of the flannel shapes.

 Place your flannel shape onto folded fleece.  Cut two fleece shapes out.
 If you were smart, you will have shifted your dome when you were tracing the fabric so that you had only 3/4 of the dome shape.  If you are not so smart (like I was when I made this), you will need to trim off 1/4 of the shape.

(If you followed the tip for how to alter the opening shape, then don't cut it off now.)

The goal is to create an opening wide enough for your hedgehog or other small animal to get in and out easily, but yet deep enough to provide warmth and shelter.  So trim off what you need depending on the size of your animal.
Place the flannel together with the good sides facing each other.  Line up the edges neatly and pin in place.  Sew around the curve.

Tip:  Backstitch to lock your stitches into place.

 Do the same for the two fleece pieces.  Remember, the good sides of the fabric should be facing each other (wrong side out).
 Now turn the flannel piece so that it is the right side out.  Do not turn the fleece one around yet.
 Slide it into the fleece half.  The good sides of the flannel and fleece should now face each other.
 It should look like this.  Wrong side of fleece facing out, wrong side of flannel facing in.
 Sew the joining straight edge, don't forget to backstitch to lock the stitches in.
 Leave a 2 inch gap.
 Turn the pouch inside out through the 2 inch gap.
 Use a hidden stitch to close the 2 inch gap:

Tuck in the fabric edges neatly and pinch closed.  Thread a needle, tie a knot, and start the first stitch to overlap existing stitching around the gap (for security). Stitch one stitch along the edge of the flannel, go directly over to fleece side and make a stitch along the edge of the fabric.  Keep going side to side like a ladder (not zig zag).
 When you pull the thread gently along the way, the gap will close.

Tip:  to avoid bunching, tug fabric gently side to side to straighten out the stitching once in a while.
 When you are finished overlapping the final stitches, tie a secure knot.  Hide the loose thread by sewing into the pouch and pulling the thread taut before snipping it.
 You should end up with a hidden seam like this.  It's not beautiful, but it will do the trick.
Ta da!  You're all finished your Flannel Pita Pouch!  My finished pouch was about 8 inches wide and 7.5 inches long.
It was Poggles testing time!  Poggles was not pleased as usual.
However, he took to it immediately.
Although he seemed confused as to why this pouch was so shallow.  He kept turning around like more space would suddenly appear.  Silly, the whole point was more air flow! 
And it fits your dome perfectly!

Happy sewing!

Don't forget to post your finished pictures in the Flickr group here.  I'd love to see what you make!

Don't want to make your own?  Email me at bluepandemonium (at) hotmail.com and maybe I can make one for you!  I also have some fleece pouches listed in my Etsy shop.
*************************************************************
*************************************************************
Have the tutorials and information on this blog helped you? Then please consider supporting this blog with a generous donation!

Wednesday, July 4, 2012

Quilted Top For Fleece Pouch Tutorial

 Here is a tutorial for how to make the quilted top for the fleece sleeping pouches for your little animal.

***Please note that these tutorials are for you to make things for your own personal use, not to sell.***

MATERIALS NEEDED
You will need the following supplies:
  • Fleece fabric
  • Scissors
  • Sewing Machine
  • Thread
  • Ruler
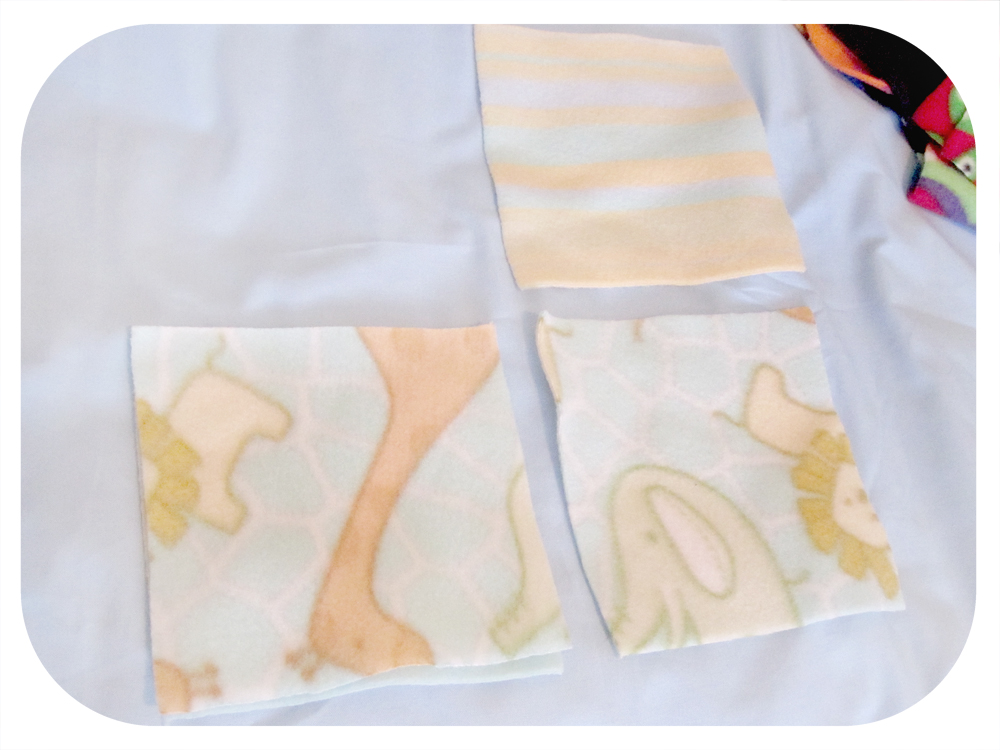
Cut four 6 x 6 inch squares of fleece.  Place them good side facing up.
 Fold one fabric square down so that the good sides of the fabric are facing each other.
Sew the top edge.
 Fold the next fabric square down so that the good sides of the fabric are facing each other.
 Sew the top edge.
 Fold one fabric rectangle set over onto the other set with the good sides of the fabric facing each other.
 Now you have a square quilt!  Nice job!  You can stop here if you want.  Just trim the fabric down to the correct pouch size you need or make this into a square pouch!
 If you want to continue, use sharp scissors to divide the squares into half.
 Trade the strips on both sides so that the pattern alternates.
 Fold one strip down so that the good sides of the fabric are facing each other.
 Sew the top edge.
 Now fold the last strip up so that the good sides of the fabric are facing each other.
Sew the bottom edge.  You're all done!  Now move onto making the rest of pouch using the Fleece Pouch Tutorial here.

Don't forget to post your finished photos to the Flickr group here.

*************************************************************

Have the tutorials and information on this blog helped you? Then please consider supporting this blog with a generous donation!