Here's a tutorial on how to make a double-layered, seam-less fleece pouch for your little animals. Please note that these tutorials are for you to make things for your own personal use, not to sell.
MATERIALS NEEDED
You will need the following supplies:
- Fleece fabric
- Ruler
- Thread
- Needle
- Sewing Machine
- Scissors
CUTTING
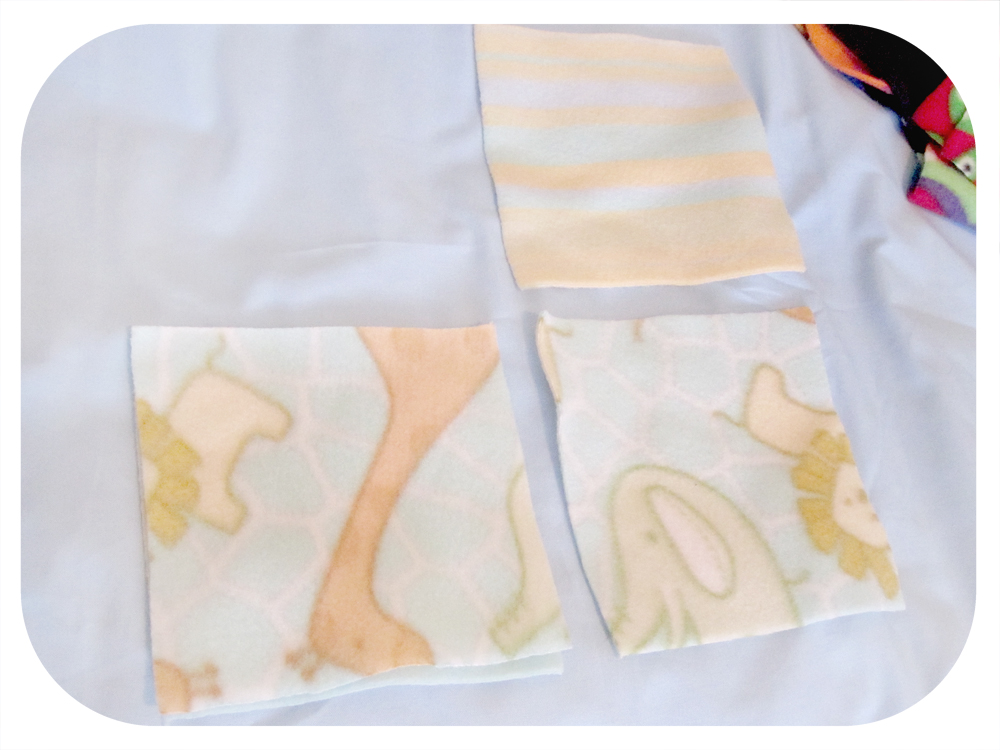
First, measure out the size of pouch that you want. For my hedgehog, I needed something that would fit a large fist (or two now!). Add one inch to your planned size to account for 1/2 inch seams. For me, this was about 9.5 inches by 10.5.
Cut two pieces, one for front and one for the back.
Since I wanted a fancy looking top to my pouch, I sewed up some strips of different fleece together to make a design. Refer to the
Quilted Top Tutorial here.
Now, place your sized fabric onto the fabric you want for the interior. Cut the fabric so that it is about 2 inches longer than your sized fabric. This will create the different coloured rim and makes the pouch a little longer.
Tip: if you want to make your pouch reversible, check
this variation.
You will need two pieces of interior fabric.
Note: If you plan to make the pouch 3-layered, then cut out 4 pieces of interior fabric. Sew the extra interior fabric to the original interior fabric ahead of time so that you don't have to worry about it later. If you did some "quilting" ahead of time like I did with this pink pouch, don't add a third layer. It will be too hot/thick.
Tip: Fold the fabric so that you can cut two pieces at once.
SEWING
Place one interior fabric over one exterior fabric with good sides facing each other. Sew the joining edge.
It should look like the picture above when you open it.
Do the same for the the other interior and exterior fabric.
Now place the two pieces on top of each other with good sides facing each other. Pin in place.
Match up the middle so that it meets up exactly.
Sew the outside as shown above. Leave a 2 inch gap on the interior fabric side. Make sure to backstitch to lock the stitches in place.
You can reinforce all the corners too. Check to make sure that the fabric did not shift and that there are no holes to stitching too close to the edges.
Note: The longer the interior fabric is compared to the exterior fabric, the longer the different coloured rim will be at the end.
Flip the pouch inside out from the 2 inch gap. Push all the corners out neatly.
Use a hidden stitch to close the gap. (Thread needle, tie knot at end. Pinch gap closed with edges folded neatly in. Stitch on one side, go directly across, make a stitch, go directly across, make a stitch, etc. Tie knot at end. Snip thread.)
Tip: Overlap the existing stitches on the gap sides to make the joint more secure.
This is what you should have when you're done. Push the interior fabric into the pouch and match the corners up.
Note: When you launder the pouch, it usually pulls out this way. This allows for excellent cleaning, but beware of quills!
You should end up with a cute pouch with a different coloured rim at the opening.
The good thing about this pouch is that there are no loose threads that your little animal can get caught on. It's also super cute and warm. If you want extra warmth, add a middle layer of fleece on both sides.
My hedgehog's favourite pouch is a 3-layer one: brown corduroy on the outside, fleece in the middle, and fleece on the inside. The brown corduroy, however, is actually just a thin outer layer.
Don't forget to post what you've made to the Flickr group here. I would love to see what you have made!
Don't want to make your own? You can purchase them from me too. View
available pouches here or find some pre-made ones in
my Etsy shop. Email me bluepandemonium (at) hotmail.com
Happy sewing!
*************************************************************
*************************************************************
Have the tutorials and information on this blog helped you? Then please consider supporting this blog with a generous donation!